This How To guide features a Stans Tubeless Conversion kit (because we think it’s the best one available) but the instructions are applicable to all tubeless conversion systems.
Let’s take it as read that you know why you should go tubeless. If you don’t, read our guide to MTB tyres and tubes for a brief explanation.
This How To guide features a Stans Tubeless Conversion kit.
This is a guide for people with non-tubeless rims.
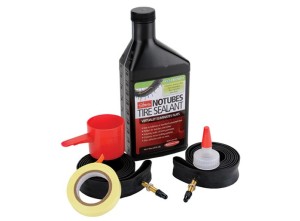 Stuff you need
- Tubeless conversion kit (sealant, rim tape/strip, valves)
- Tubeless tyre
- Stanley knife
- A ruler or tape measure
- Decent track pump
- Washing up bowl
- Washing up liquid
There’s 20 steps in total which sounds a lot but it’s only because we’ve tried to be as clear and comprehensive as possible. Don’t worry.
If you have rims that are tubeless ready, you can jump to Step 7 (you may wish to do Step 4 too though).
1. Buy a tubeless conversion kit. We still think that Stans No Tubes is the best overall bet. You need to make sure you buy the kit with the correct width tubeless tape. Take your existing tyre and inner tube off your wheel and measure the width of your rim’s inner recess. Stans No Tubes use the following categories: Standard/Cross Country 21-25mm, Enduro/All Mountain 25-28mm, Freeride 27-34mm, Downhill 36-39mm.
2. You should be using tubeless compatible tyres. Some non-tubeless tyres do work but most don’t really seal very well or reliably.
3. If you’re starting with an existing wheel: remove wheels from bike, remove existing tyre and inner tube from the wheel.
4. Make a washing up bowl of very soapy water. Clean the inside of the wheel rim. This will help the system to seal more reliably. Make sure the rim is completely dry after cleaning. Use some kitchen roll to really mop it out.
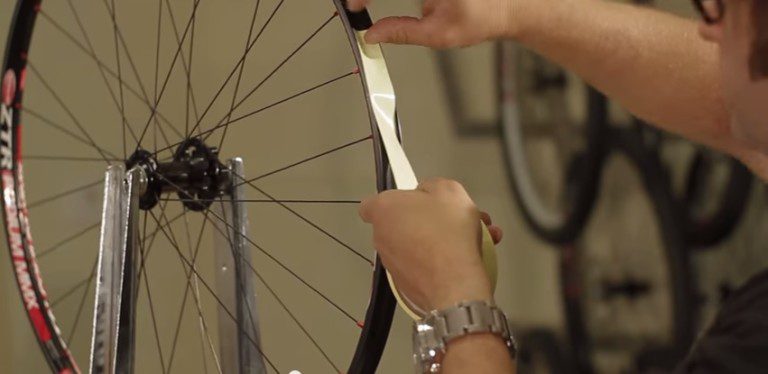
Pics from Stans No Tubes.
5. Install tubeless tape around the rim. Take your time. Just do a couple of inches at a time. Pull the tape nice and taut as you go. Overlap the tap by a good 10cm or so.
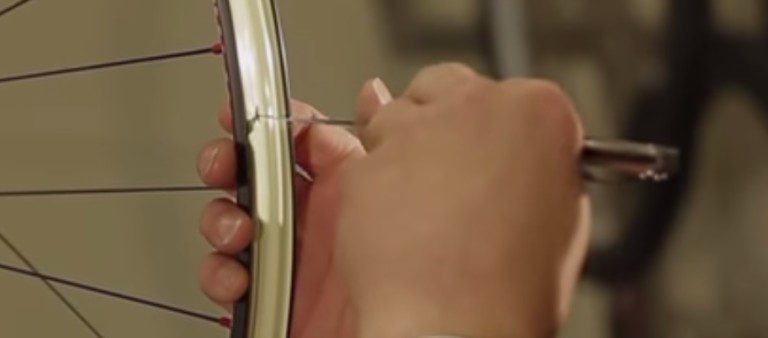
6. Cut a small X where the valve hole is (for putting the valves through. Make sure the X is no bigger than the hole.
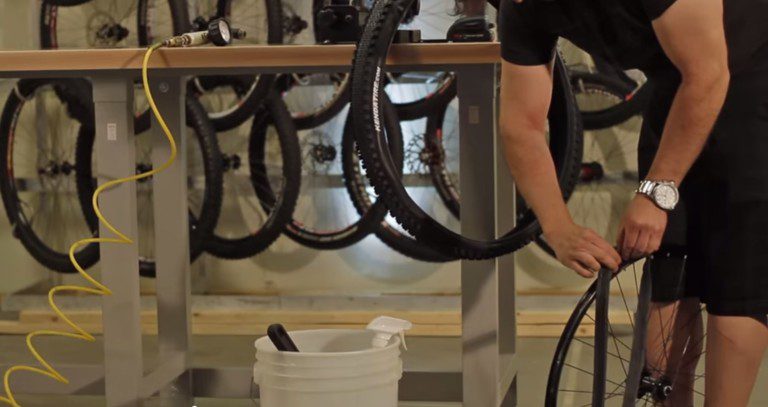
7. Install the valved rubber strips (some tubeless kits don’t have rubber strips, just standalone valves). You may wish to dip the rubber strip in soapy water before installing, this makes in easier to install and helps form an airtight seal when it comes to inflation. Tighten the valve shaft lock nut as securely as you can.
8. Seat one bead of the new tubeless tyre completely on to the rim.
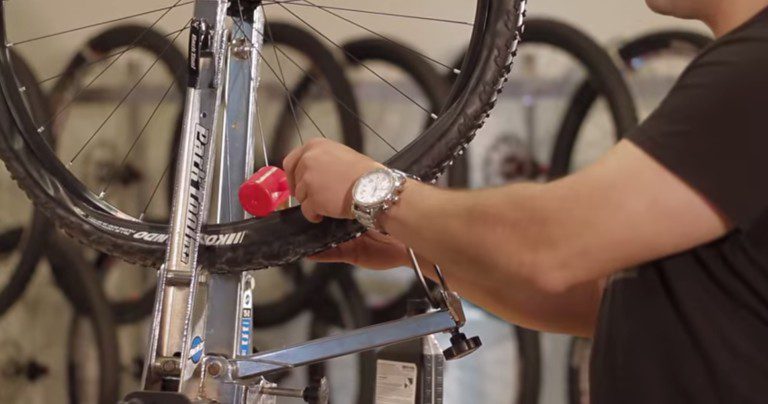
9. Pour in the sealant. Unless you’re a real weight weenie or you’re using really narrow tyres, err on the side of generosity and put a couple of scoops in there.
10. Seat the other tyre bead on to the rim.
11. Say a little prayer.
12. Grab your track pump and attach it to the valve.
13. PUMP LIKE BILLY-O! Hopefully the tyre will simply inflate. (If your pump is a bit rubbish, get yourself a decent track pump).
14. If the tyre doesn’t inflate it’s time to break out the soapy bubbles. Lather the whole tyre and rim with soapy bubbles. Try not to get any water on the tyre/rim, just bubbles. The idea here is that you’re making an external air-resistant seal between the tyre and the rim. Soapy bubbles don’t sound like they’d have much strength but they do.
15. If soapy bubbles don’t work (which is really, really rare) put an inner tube in and inflate it really hard (60 psi or so). Then let all the air out and remove the inner tube. This apparently pointless action does ensure that one of the tyre beads is 100% seated securely, thus improving the chances of then getting the tubeless system inflated.
16. If the tyre is almost sealing but not quite, a handy tip is the remove the valve’s core and then attach the track pump and pump like billy-o. Pump the tyre up really hard (60 psi or so). This will get both tyre beads 100% seated. Obviously, when you remove the track pump all the air will rush out of the core-less valve, so then you re-install the valve core and pump the tyre back up.
17. If there’s still no joy you’ll have to find an air compressor or you can try using a CO2 canister or two.
18. Inflate the tyre really hard (60 psi or so) to ensure the tyre beads are fully seated.
19. Go and do something interesting for 30 mins or so, then return to the tyre to see if it’s lost any pressure. If it has, pick up the wheel and slosh the sealant around inside it (spin and flip the wheel around a few times basically), inflate the tyre back up to 60 psi.
20. Ride. You are now free to experiment with running lower tyre pressures than you may have risked before. Try around 25 psi and see how it feels for a bit. Adjust if desired.
Have a look at our range of tubeless conversion kits and other anti-inner tube stuff.
